There’s a profound satisfaction that comes from nurturing something from the ground up, especially when it connects you more deeply with nature’s abundant offerings. Many people are discovering the rewarding experience of cultivating beneficial organisms, leading to a sense of accomplishment and self-sufficiency. This guide aims to demystify the process of growing turkey tail mushroom, a revered fungus known for its distinctive appearance and numerous applications. Whether you’re a seasoned gardener or a curious beginner, embarking on this mycological journey can be surprisingly accessible and incredibly rewarding. We will explore the essential requirements, various cultivation methods, and practical steps to help you successfully grow your own supply, fostering a direct connection to this fascinating part of the natural world.
Introduction to Growing Turkey Tail Mushrooms
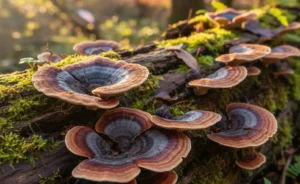
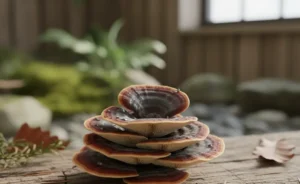
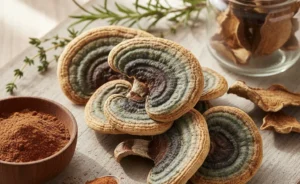
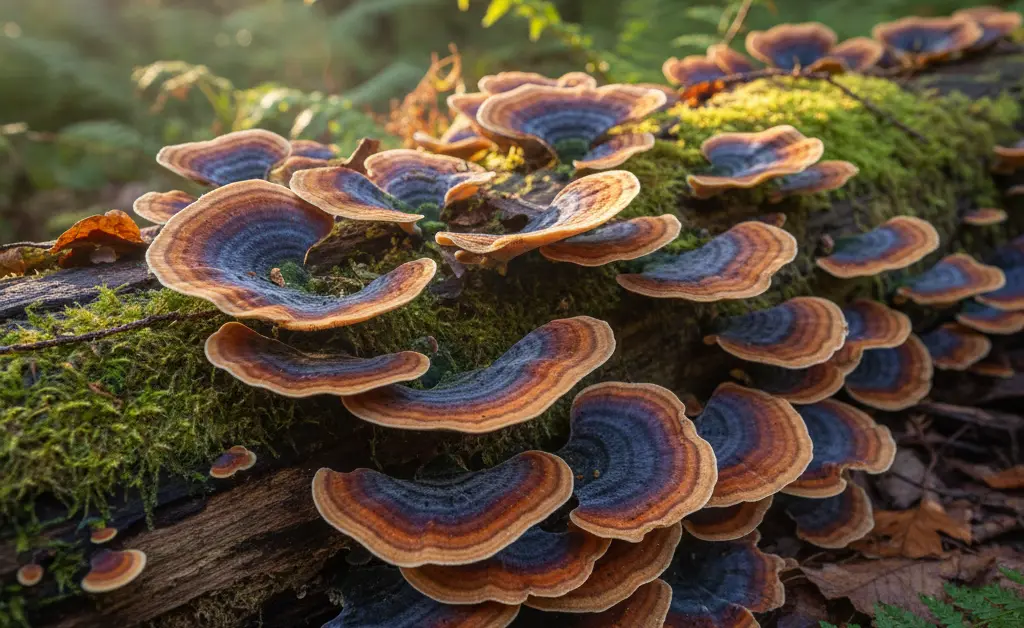
Turkey tail mushrooms (Trametes versicolor) are distinctively fan-shaped fungi, often displaying concentric rings of various colors, resembling a turkey’s tail. Found globally in temperate forests, they are saprophytic, meaning they thrive on decaying wood. Their widespread recognition stems from their unique appearance and a long history of traditional use in various cultures. Cultivating these mushrooms at home offers a fascinating opportunity to observe their life cycle firsthand and enjoy a fresh supply. The process is not overly complex, making it an appealing project for those interested in mycology or sustainable living practices. For information on food safety standards related to fungi, resources like the EFSA provide valuable guidance.
Understanding Turkey Tail’s Growth Requirements
To successfully cultivate turkey tail mushrooms, it’s essential to mimic their natural habitat and provide optimal environmental conditions. In the wild, they primarily grow on dead hardwood logs and stumps. They prefer deciduous trees such as oak, maple, birch, and beech, which provide the necessary nutrients for their development. Optimal environmental factors play a crucial role in their growth and the development of robust fruiting bodies.
Temperature is a key factor. During the mycelial colonization phase, a consistent temperature range, often between 70-75°F (21-24°C), is beneficial. For fruiting, a cooler temperature, typically between 50-70°F (10-21°C), combined with high humidity, encourages the formation of mushrooms. Humidity levels need to be consistently high, often above 85-90%, especially during the fruiting stage, to prevent the developing mushrooms from drying out. While turkey tail can tolerate some light, it generally prefers indirect or low light conditions for mycelial growth, with a bit more ambient light helpful during fruiting to signal development.
Choosing Your Turkey Tail Cultivation Method
The decision on how to grow turkey tail mushroom often comes down to personal preference, available resources, and the scale of cultivation desired. Two primary methods stand out: outdoor cultivation on logs and indoor cultivation on various substrates or using ready-made kits. Each method presents its own set of advantages and challenges. Outdoor log cultivation closely mimics the mushroom’s natural growth environment, often resulting in resilient flushes over several years once established, but it requires patience and suitable outdoor space. Indoor methods, conversely, offer more control over environmental factors and faster results, making them ideal for beginners or those with limited outdoor areas. Understanding the commitment and space required for each will help determine the best approach for your specific situation.
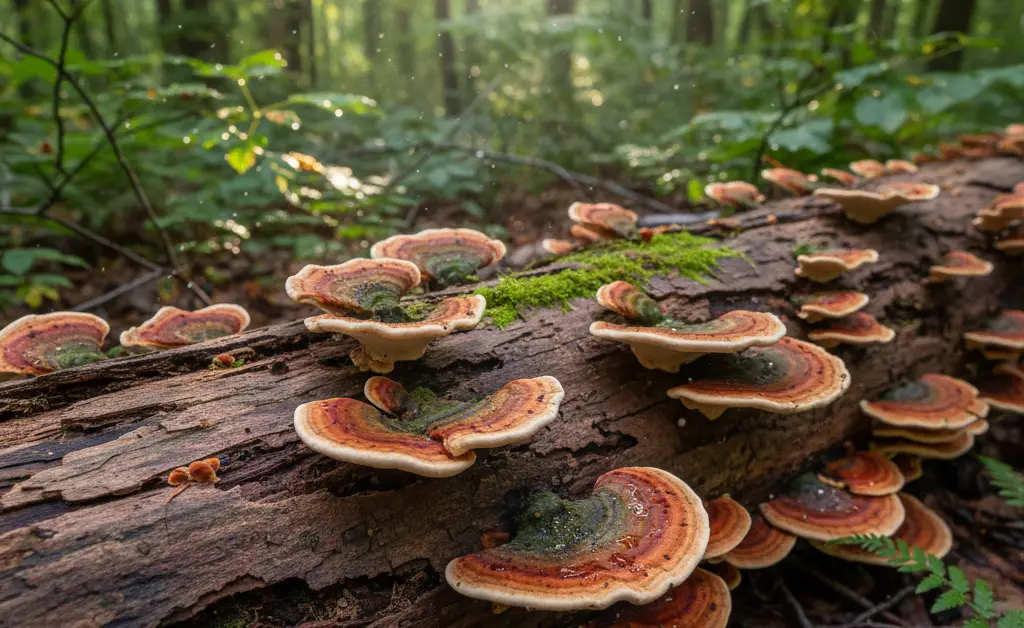
Outdoor Cultivation: Growing Turkey Tail Mushrooms on Logs
Outdoor log cultivation is a traditional and highly effective method for growing turkey tail mushrooms, producing harvests over multiple years. This method connects cultivators directly with the natural growth cycle of the fungi, allowing them to thrive in conditions similar to their wild habitat. It requires selecting the right type of wood and careful inoculation to ensure successful colonization.
Preparing Logs for Inoculation
The success of log cultivation begins with proper log selection and preparation. Choose freshly cut hardwood logs, ideally from deciduous trees like oak, maple, birch, or beech. Logs should be healthy, free from existing fungal growth, and ideally cut within a few weeks of inoculation to ensure they still contain sufficient moisture and nutrients. Logs typically range from 3-8 inches (7-20 cm) in diameter and 3-4 feet (0.9-1.2 m) in length. After cutting, allow the logs to rest for at least two weeks but no more than a few months to permit the tree’s natural defense mechanisms to subside. Before inoculation, clean the logs thoroughly and ensure they are adequately hydrated, soaking them in water if they feel too dry.
Indoor Cultivation: Growing Turkey Tail Mushrooms on Substrate or Kits
Preferred Substrate Materials for Indoor Growth
Turkey tail mushrooms thrive on various lignocellulosic materials when grown indoors. Hardwood sawdust, particularly from oak, maple, or beech, is a highly effective substrate, often supplemented with a small percentage of bran or other nitrogen sources to boost nutritional content. Wood chips, especially from hardwoods, can also be used, though they might require a longer colonization period. Some cultivators also experiment with sterilized agricultural byproducts like straw or coffee grounds, sometimes mixed with sawdust. The key is to select a substrate that provides ample cellulose and lignin, the primary food sources for turkey tail mycelium, and to ensure it is properly pasteurized or sterilized to prevent contamination.
Using Turkey Tail Mushroom Grow Kits
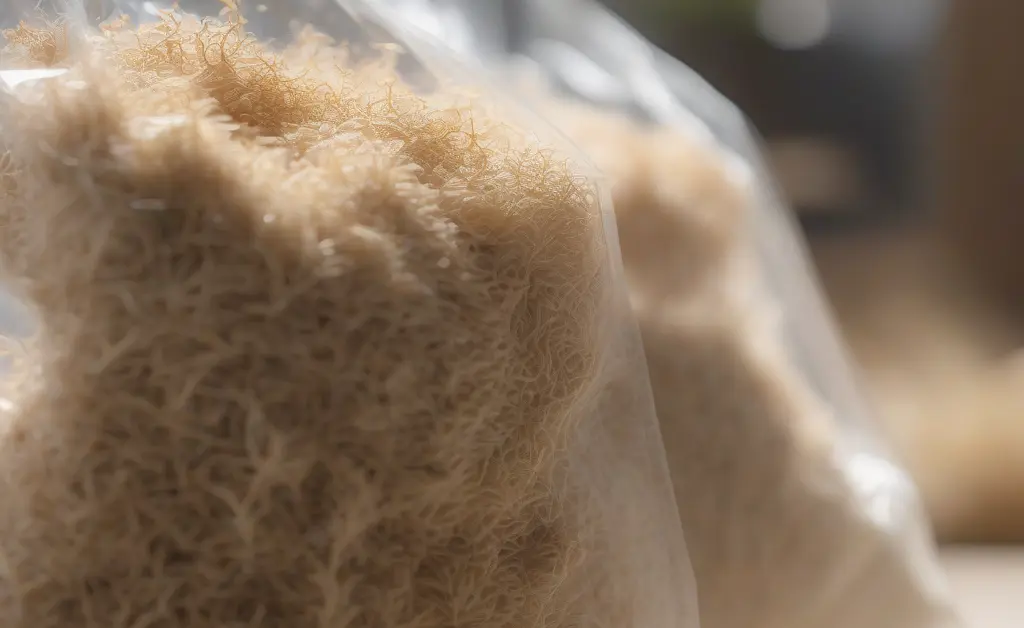
For beginners or those seeking a convenient entry into mycology, turkey tail mushroom grow kits offer a straightforward solution. These kits typically come with a pre-colonized substrate block, often hardwood sawdust, packed in a specialized bag. The instructions usually involve simply exposing the block to appropriate environmental conditions—often by cutting slits in the bag and placing it in a humid environment—and misting it regularly. Grow kits eliminate the need for sourcing spawn, preparing substrates, and sterilizing equipment, significantly reducing the initial effort and potential for error. For cultivators in the UK, a turkey tail mushroom grow kit UK offers specific regional convenience. While they may offer fewer flushes than log cultivation, they provide an excellent opportunity to experience the entire life cycle and harvest fresh turkey tail without extensive setup, making growing turkey tail mushroom accessible to almost anyone.
Specifically for cultivators in Australia, a turkey tail mushroom kit Australia offers a tailored approach to home cultivation.
Key Steps in Turkey Tail Mushroom Cultivation
Regardless of the chosen method, successful turkey tail mushroom cultivation follows a series of distinct stages, each crucial for the healthy development of the mycelium and the subsequent fruiting bodies. Understanding these steps helps in anticipating the needs of the growing fungi and troubleshooting any potential issues.
Sourcing Turkey Tail Spawn
The foundation of any mushroom cultivation project is quality spawn. Turkey tail spawn is typically available in various forms, including sawdust spawn, grain spawn, or dowel plugs. Sawdust spawn is often preferred for log inoculation, while grain spawn is commonly used for inoculating bulk indoor substrates. It is crucial to source spawn from reputable suppliers to ensure it is viable, free from contaminants, and specifically identified as Trametes versicolor. The quality of your spawn directly impacts the success rate and vigor of your turkey tail crop.
Substrate Preparation and Sterilization
For indoor cultivation, proper substrate preparation and sterilization are paramount. Hardwood sawdust or other chosen substrates must be hydrated to an optimal moisture content, typically around 55-65%. After hydration, the substrate needs to be sterilized or pasteurized to eliminate competing microorganisms. Sterilization, often done in a pressure cooker or autoclave, kills nearly all microbes, creating a clean environment for the turkey tail mycelium. Pasteurization, using lower heat for a longer duration, reduces competing organisms while leaving some beneficial microbes, but sterilization is generally preferred for sawdust blocks to ensure maximum success in growing turkey tail mushroom indoors.
Inoculation Techniques
Inoculation is the process of introducing the turkey tail spawn to the prepared substrate. For logs, holes are drilled at specific intervals, and dowel plugs or sawdust spawn are inserted and sealed with wax. For indoor substrates, the sterilized substrate is typically mixed with grain spawn in a clean, sterile environment, such as a still air box or flow hood, to minimize airborne contamination. Proper inoculation techniques ensure even distribution of the spawn and a strong start for the mycelial network, which is essential for successful colonization.
Mycelial Colonization and Incubation Period
Following inoculation, the substrate enters the mycelial colonization phase, also known as the incubation period. During this time, the turkey tail mycelium spreads throughout the substrate, consuming nutrients and forming a dense, white network. This stage typically requires consistent temperatures, usually in the range of 70-75°F (21-24°C), and a dark or dimly lit environment. Humidity should be maintained, though not as critically high as during fruiting, to prevent the substrate from drying out. The duration of colonization varies depending on the substrate type, spawn vigor, and environmental conditions, often ranging from several weeks to several months for logs, and a few weeks for indoor blocks. Observing the complete colonization of the substrate is a critical indicator of readiness for the next stage of growing turkey tail mushroom.
Inducing Fruiting Body Development
Once the substrate is fully colonized, environmental changes are needed to induce fruiting, signaling the mycelium to produce mushrooms. This typically involves introducing a “fruiting trigger,” which often includes a drop in temperature, increased fresh air exchange, and a significant increase in humidity. For logs, this usually means moving them to a shaded, humid outdoor location. For indoor blocks, this might involve placing them in a fruiting chamber with controlled temperature (50-70°F/10-21°C), high humidity (85-95%), and increased airflow. Light, though not strictly necessary, can also play a role in guiding the development and color of the fruiting bodies.
Harvesting and Post-Cultivation Care for Turkey Tail
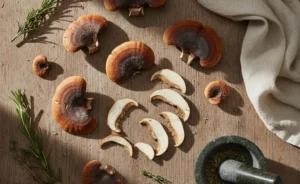
After weeks or months of diligent cultivation, the rewarding stage of harvesting arrives. Knowing when and how to harvest turkey tail mushrooms properly is crucial for both optimizing yield and promoting subsequent flushes. Post-cultivation care also plays a significant role in the longevity and productivity of your cultivation setup, ensuring you can continue enjoying your homegrown supply. Proper harvesting techniques not only yield the best quality mushrooms but also help the mycelium recover and prepare for future growth cycles, maximizing the returns from your efforts in growing turkey tail mushroom.
Encouraging Subsequent Flushes
Turkey tail mushrooms, particularly when grown on logs or substantial indoor blocks, are known for producing multiple “flushes” or waves of mushrooms. After the initial harvest, the substrate often needs a period of rest and rehydration to replenish its moisture and energy reserves. For logs, this might involve soaking them in cold water for 12-24 hours before returning them to their shaded, humid location. For indoor blocks, a similar cold water soak can be beneficial, followed by a return to fruiting conditions. Maintaining consistent high humidity and adequate fresh air exchange remains important between flushes to support the mycelium’s recovery and encourage the formation of new primordia, leading to further harvests.
The content presented here is not a substitute for professional medical guidance. This information is provided for general knowledge and educational purposes only, and does not constitute medical advice, diagnosis, or treatment recommendations. Always consult with a qualified healthcare professional before making any decisions about your health or treatment. Individual results may vary, and the potential effects of specific mushrooms or supplements should be discussed with an expert.
FAQ
— Where can I buy turkey tail mushroom spawn?
You can typically find turkey tail mushroom spawn from specialized mycological supply companies or online retailers dedicated to mushroom cultivation. These suppliers offer various forms of spawn, such as sawdust or plug spawn, suitable for different growing methods. When considering growing turkey tail mushroom, selecting a reputable source for your spawn is an important first step.
— How do you prepare logs for growing turkey tail mushrooms?
Preparing logs for turkey tail cultivation involves selecting freshly cut hardwood logs, ideally from species like oak or maple, which provide the necessary nutrients for fungal growth. Holes are then drilled into the logs in a specific pattern, ensuring optimal spacing for the inoculation points. After inserting the spawn into these holes, the logs are typically sealed with wax to protect the mycelium and placed in a shaded, humid environment to encourage colonization and subsequent fruiting.